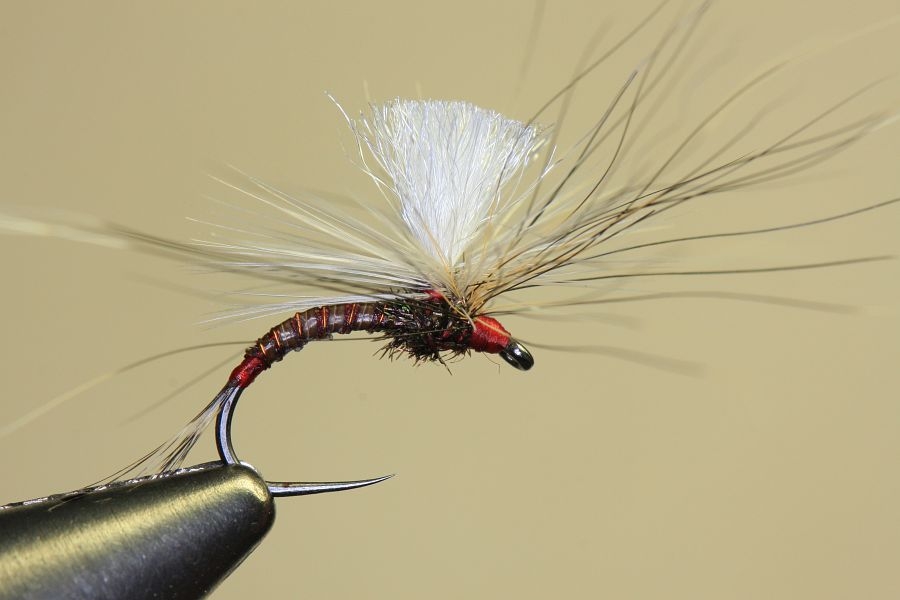
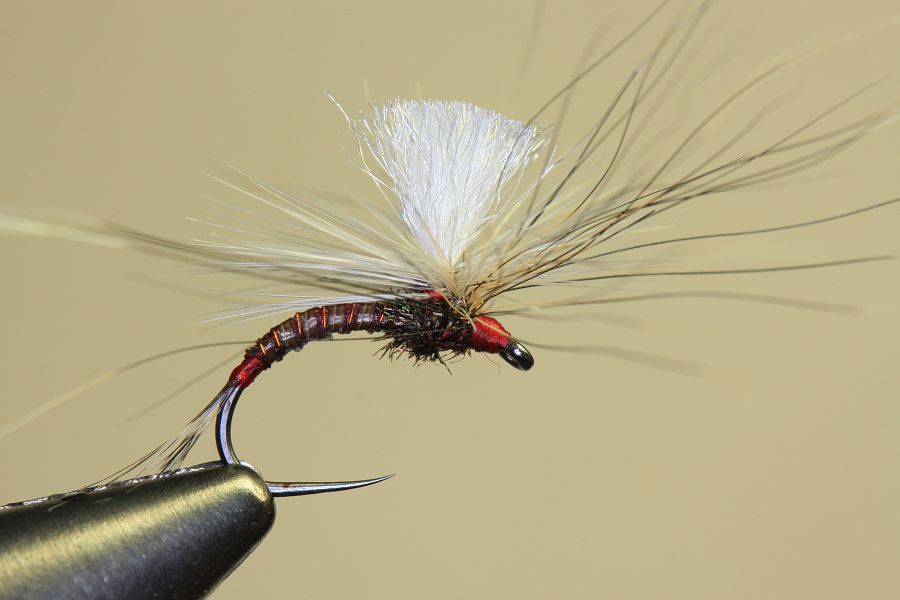
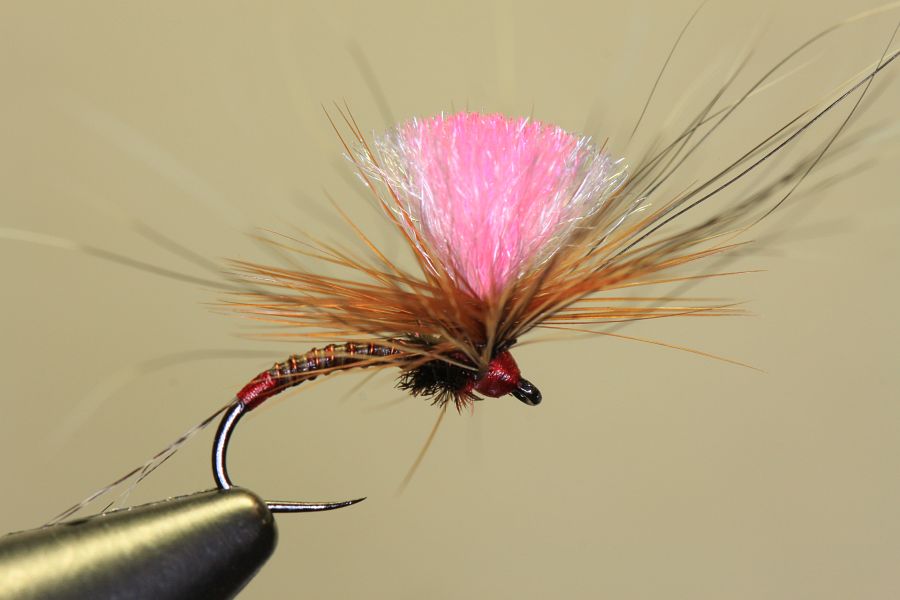
There is little doubt that this pattern has come to stay because it is highly effective in clear, quick flowing streams. I have used the Para-RAB on a number of occasions over the last few years and put its success down to a number of things. Firstly it sits in the surface rather than on it, it imitates a wide range of emerging mayflies, it is less affected by wind drag than high riding, long-hackled flies like the traditional RAB, it does not spin in the cast like the conventional RAB and finally it’s easy to follow in the drift.
Click in images to enlarge them
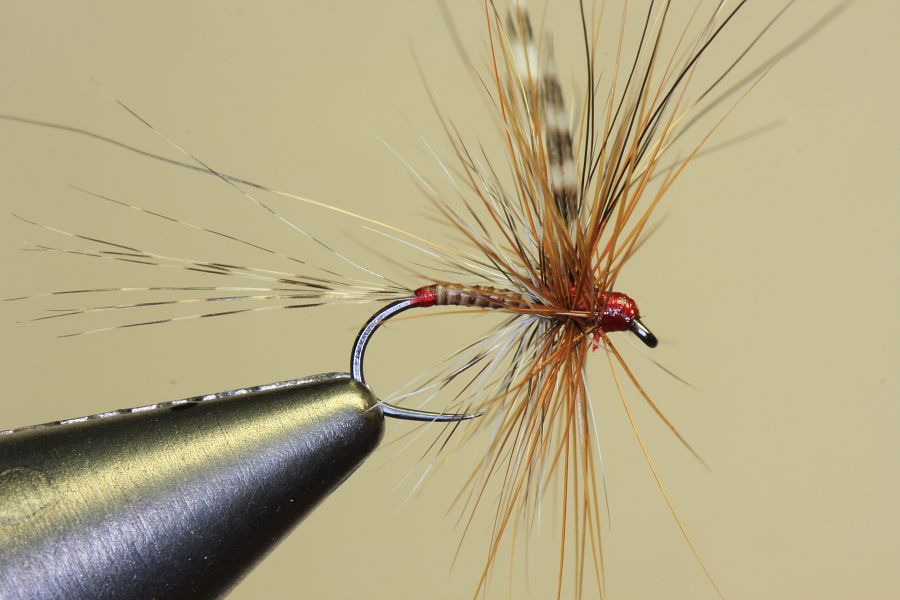
The traditional RAB
Tying instructions
The pattern illustrated here is tied by a master, Mark Krige, arguably the best fly tyer I know. You will need the following:
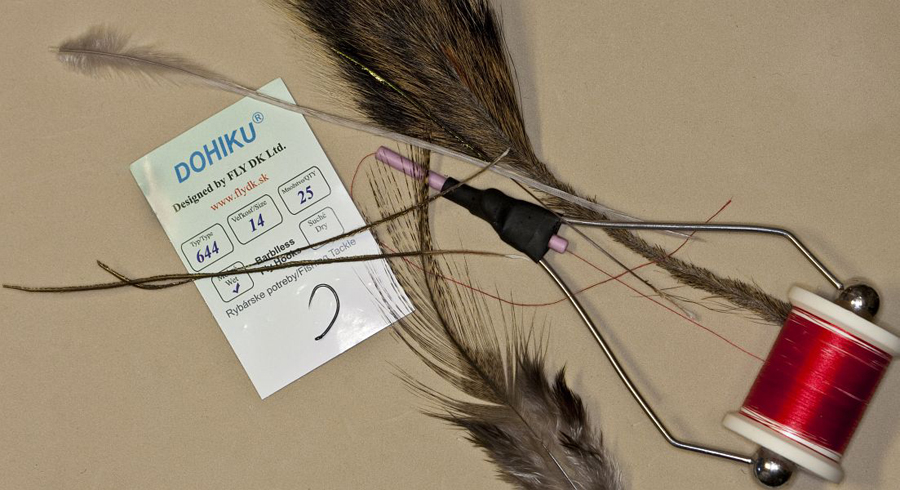
Grub hooks in size 14 to 16,
Red thread (UNI-Thread 8/0 is ideal, but the choice is yours.)
Brown or dun cock hackle (genetic if you can get it, but that’s less than essential).
Peacock herl stripped for the body and natural for the thorax.
Squirrel tail fibres for the ‘legs’.
Ultra-fine copper wire for ribbing (optional).
Coq de Leon fibres, or standard brown cock hackle fibres, for the tail.
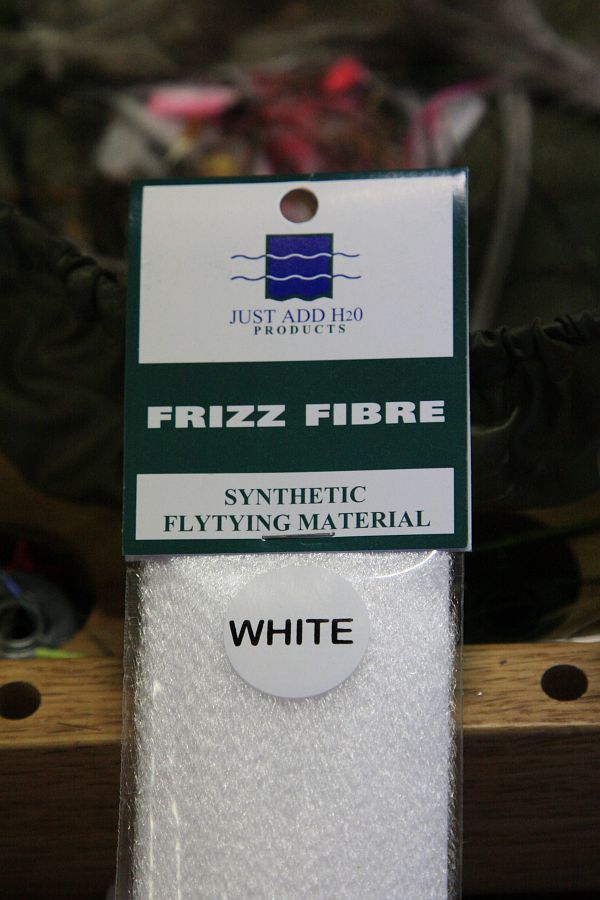
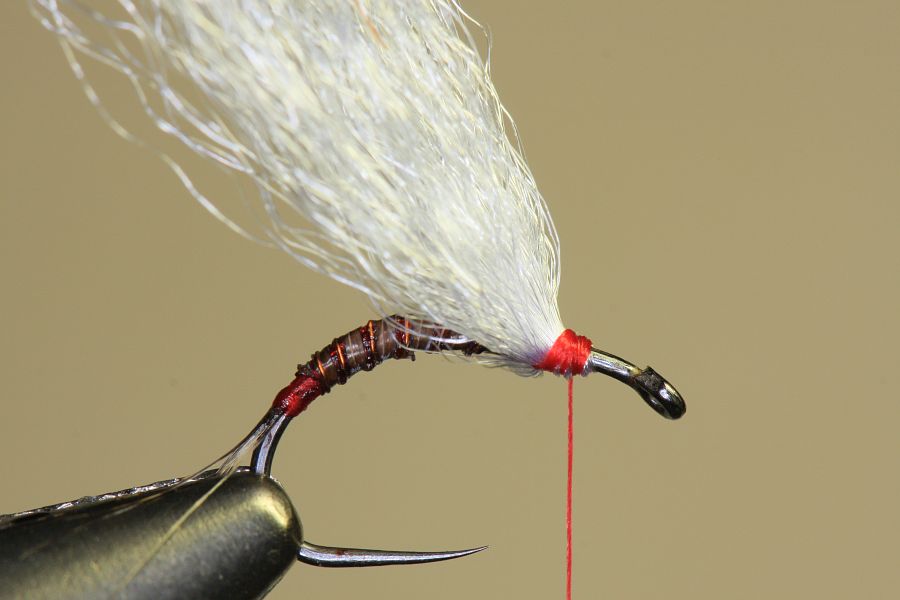
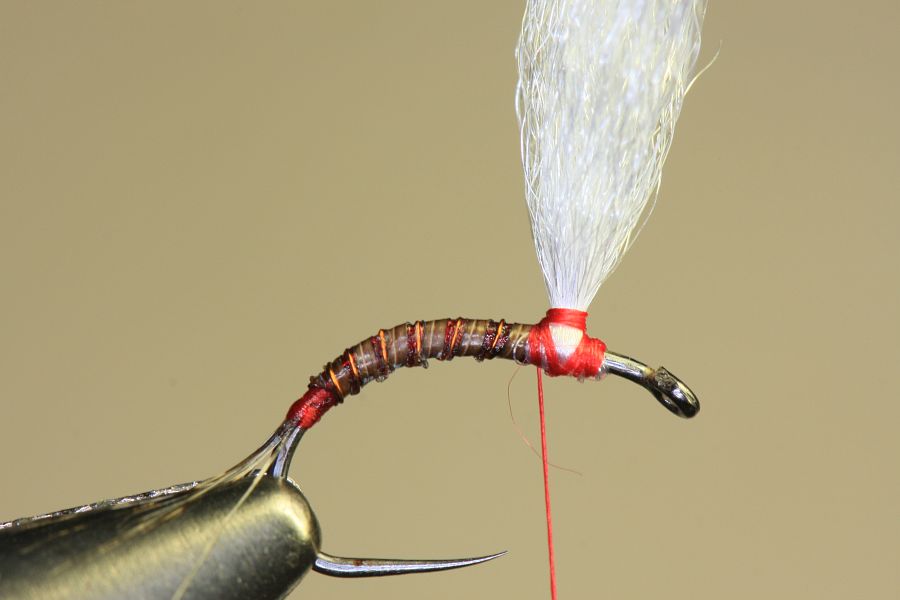
The post is traditionally white but pink is valuable on runs where there are plenty of confusing white bubbles. Friz Fibre is very visible and easy to tie with, but naturally many other materials could be used for the post. Note, using a little glue to strengthen the body is optional. I like it for another reason, in that it helps the abdomen break the surface film and sink, so I apply glue, or varnish, but only after the body is completed. It’s something I now do with all my stillwater midge pupa patterns for the same reason.
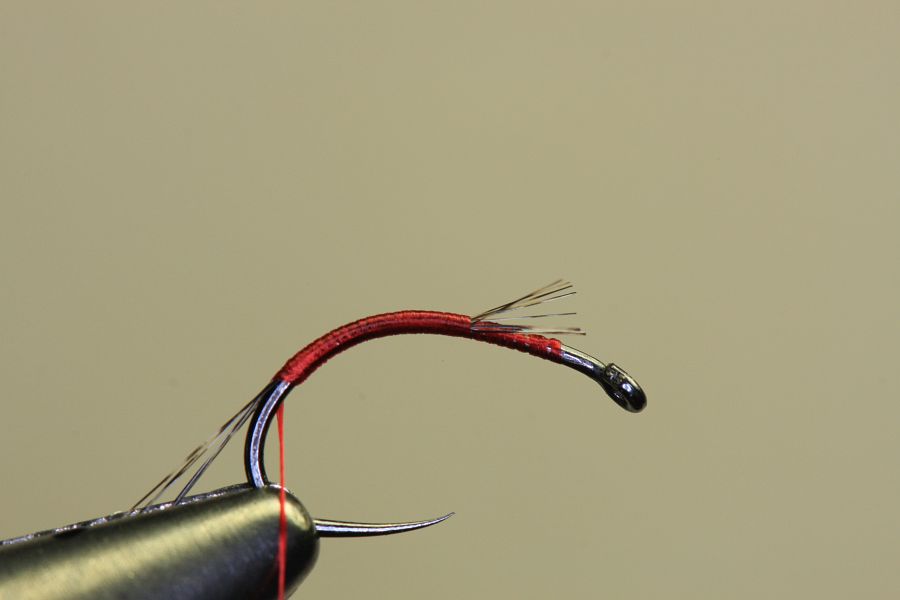
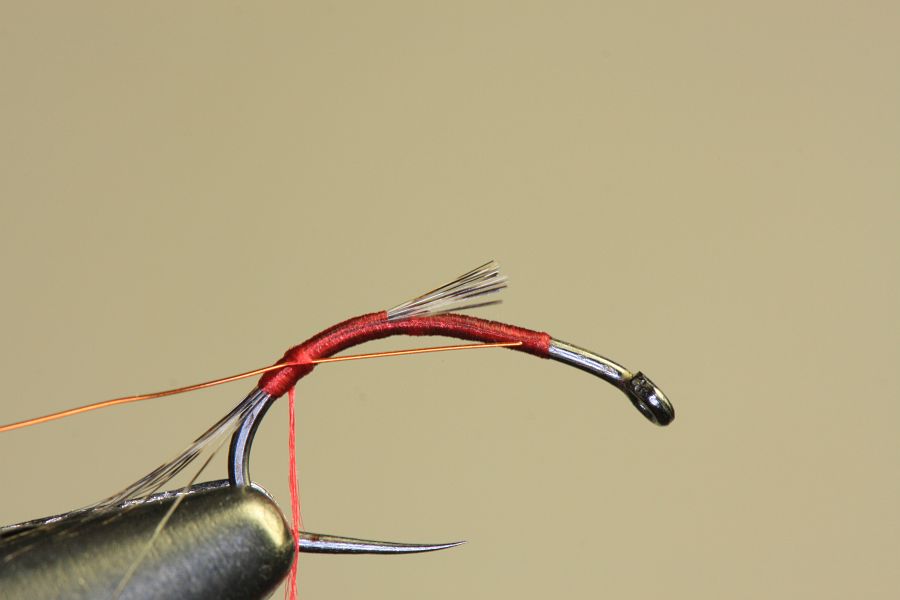
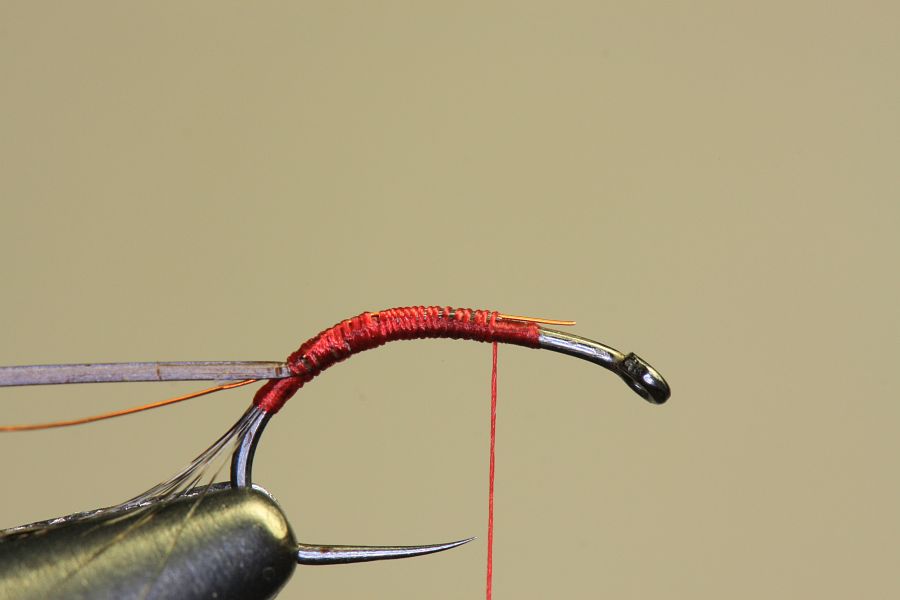
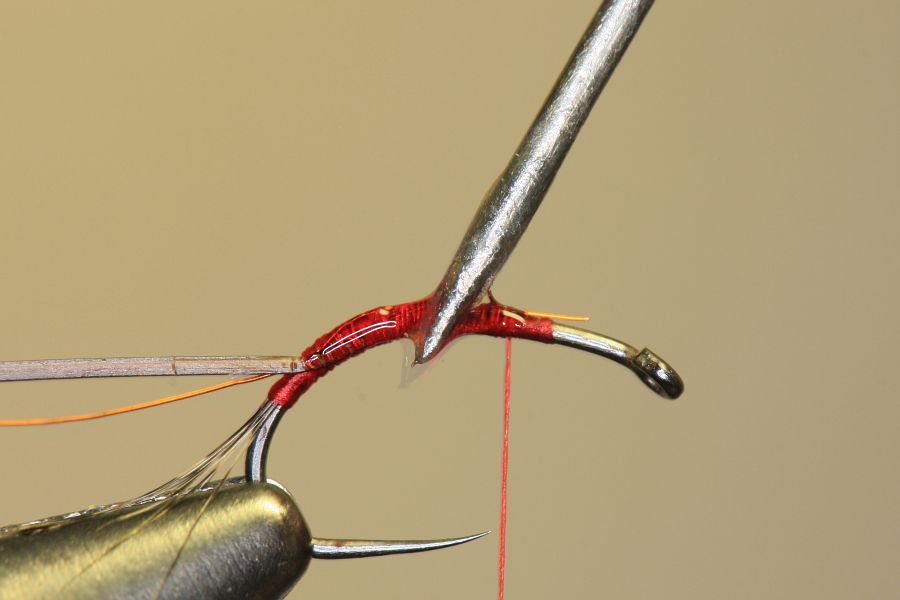
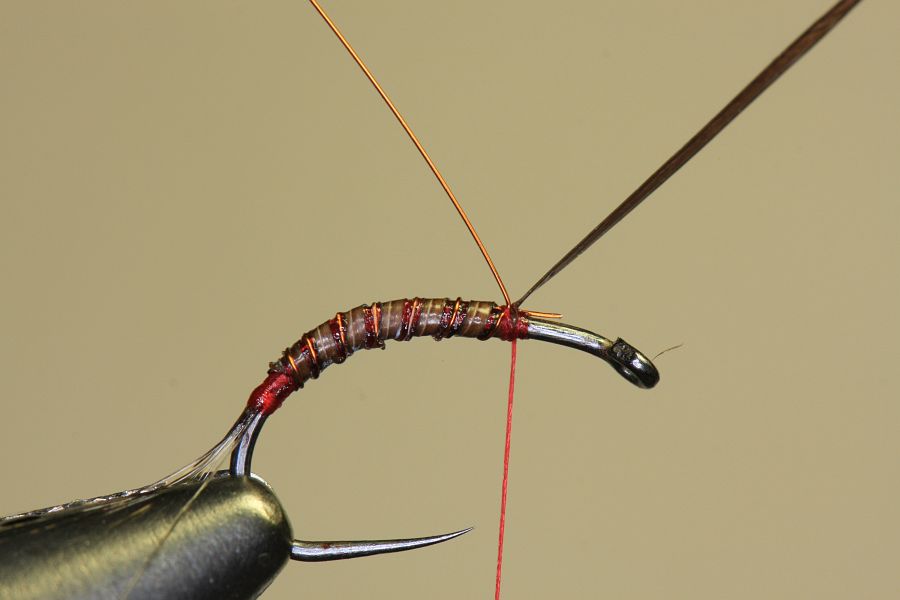
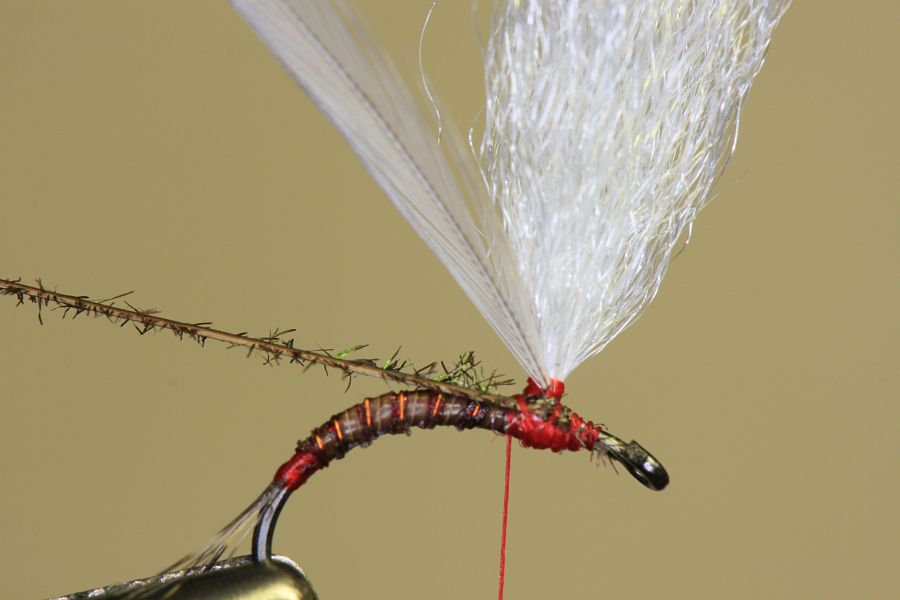
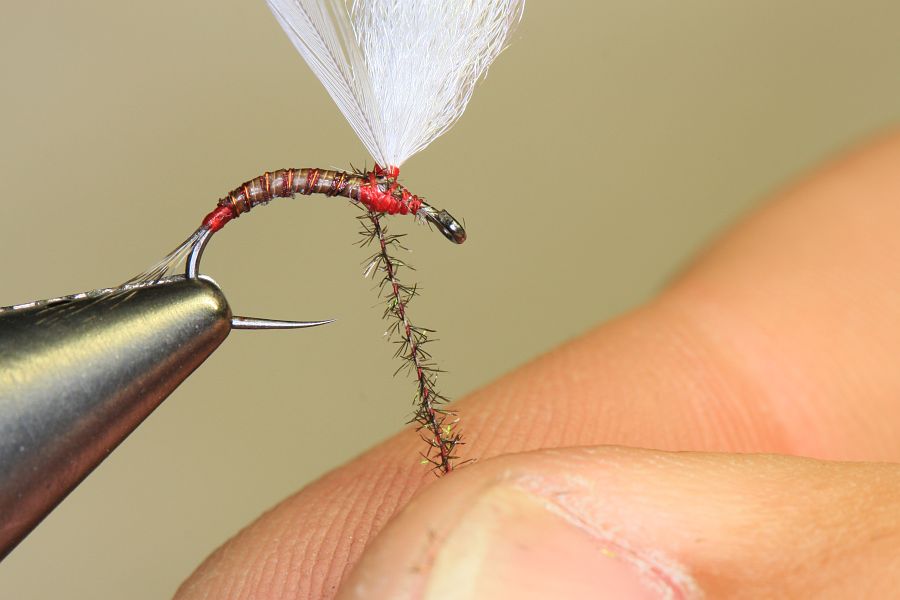
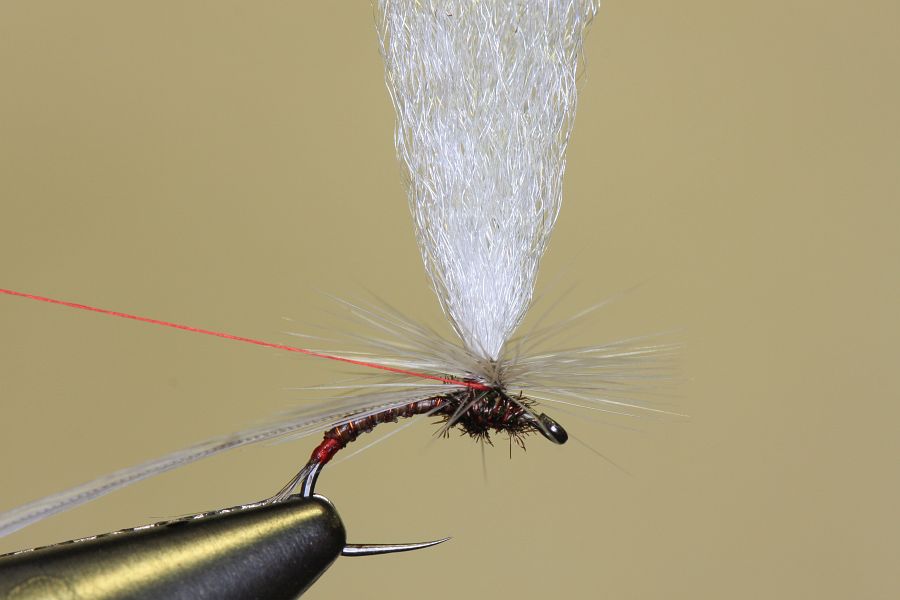
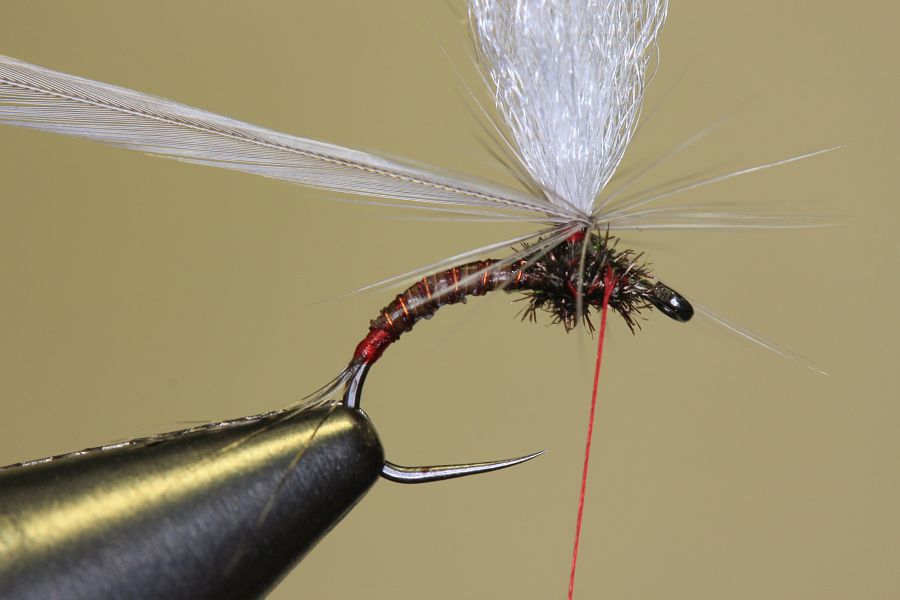
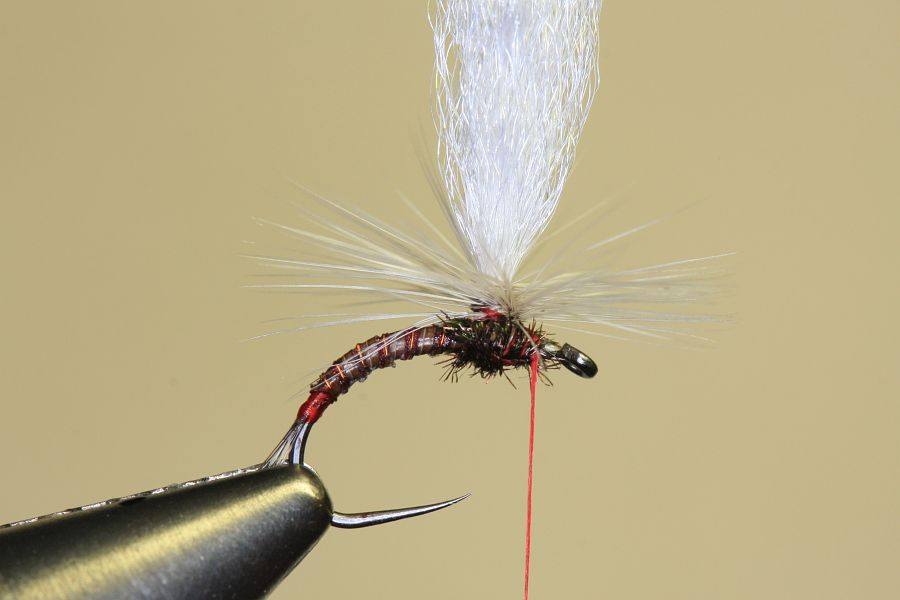
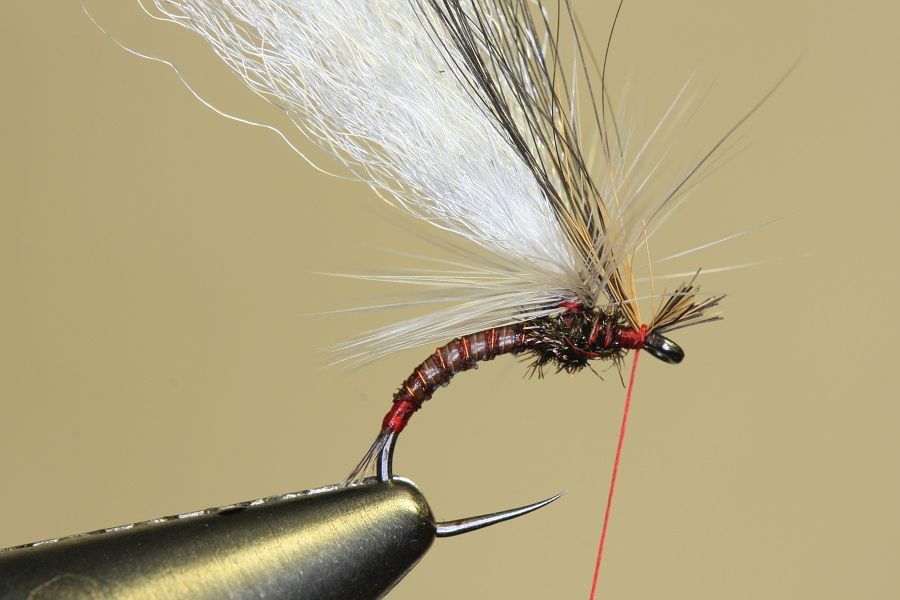
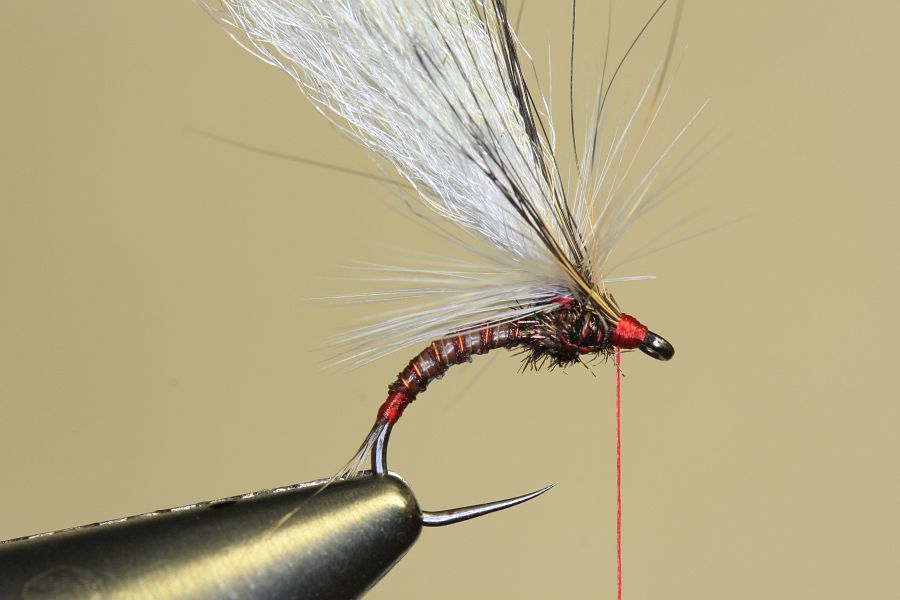
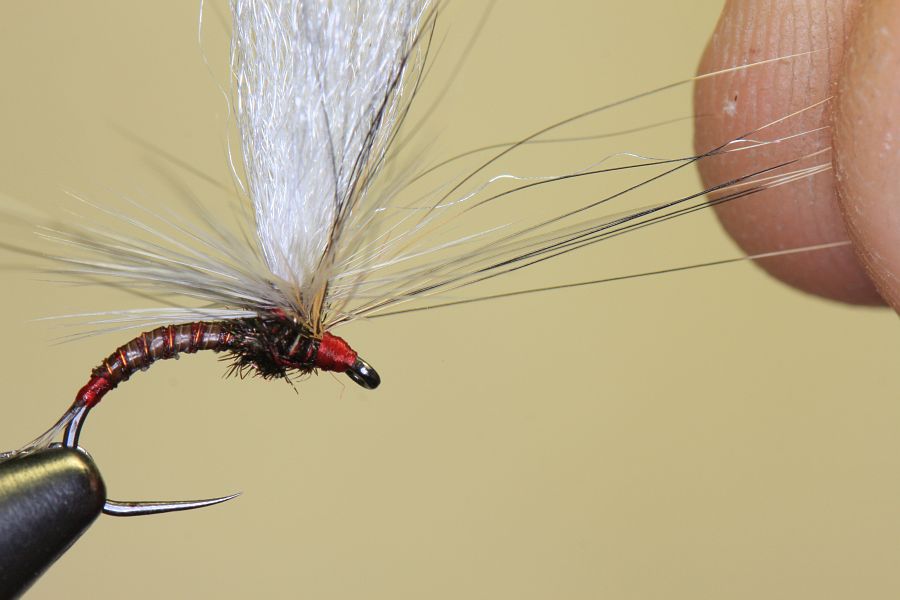
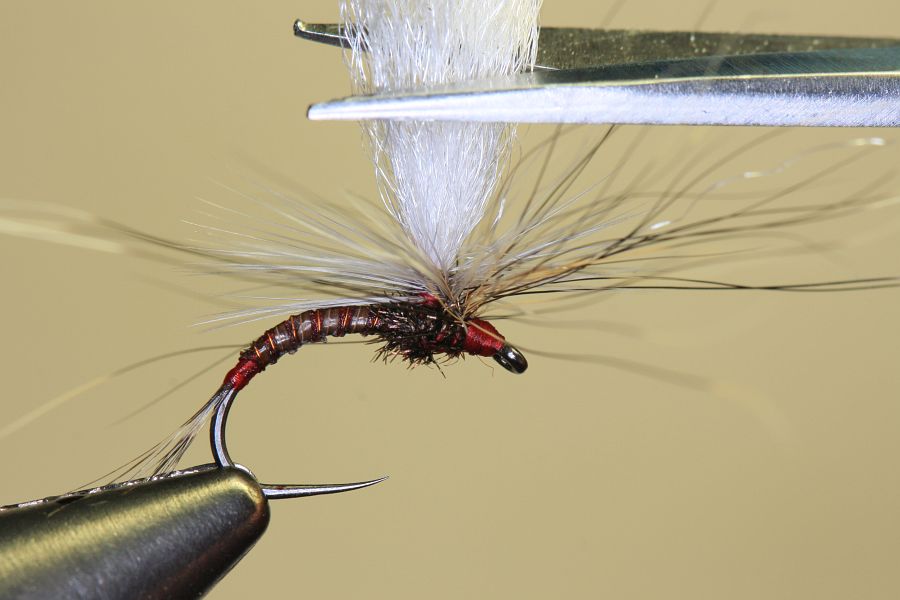
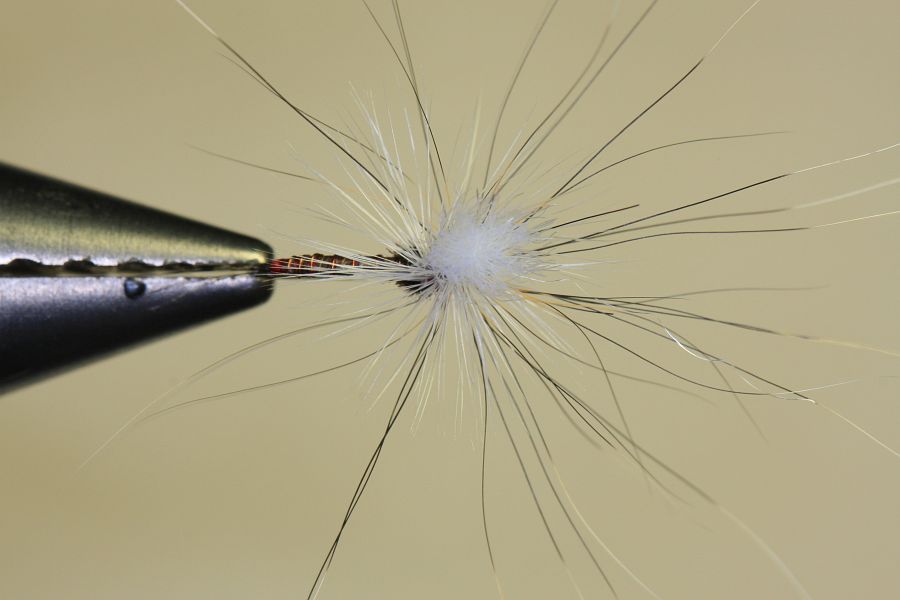
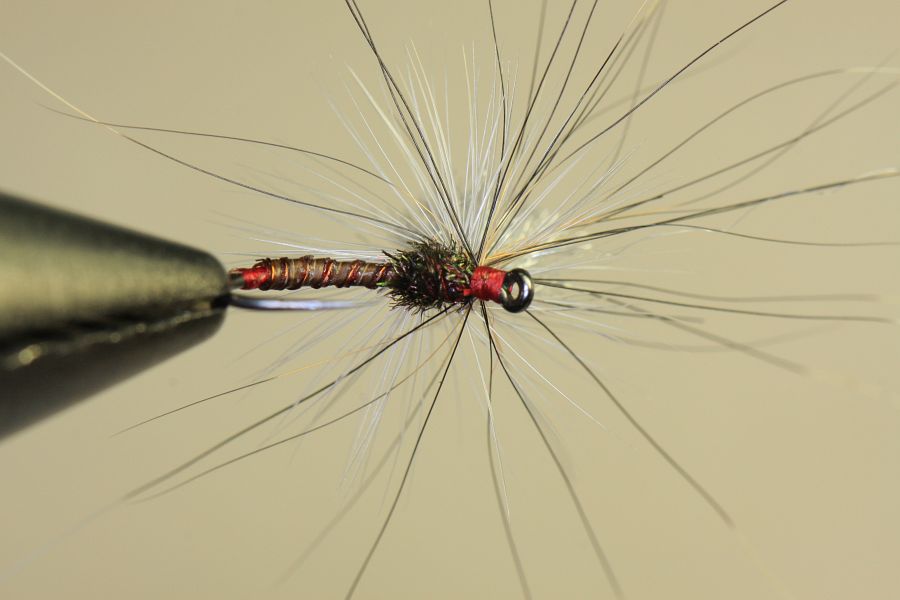
Here are the tying steps. The addition of words is unnecessary as the steps are dead easy to follow and understand. Just note that in adding the squirrel tail fibres you will need to spread them around the post by hand and then run a turn of thread through them to roughly secure their positions.
Tom Sutcliffe

